Email Account Setup In Windows Live Mail
This tutorial will guide you though setting up your email account in Windows Live Mail so you’ll be able to send and receive from your email account.
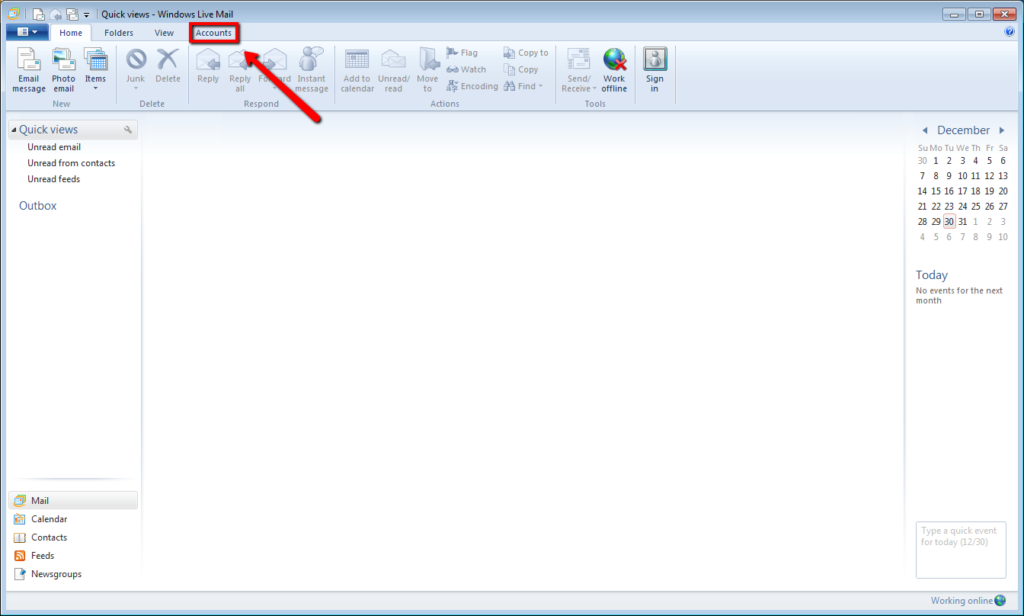
1. Open Windows Live Mail
2. Click Account to bring up the accounts ribbon
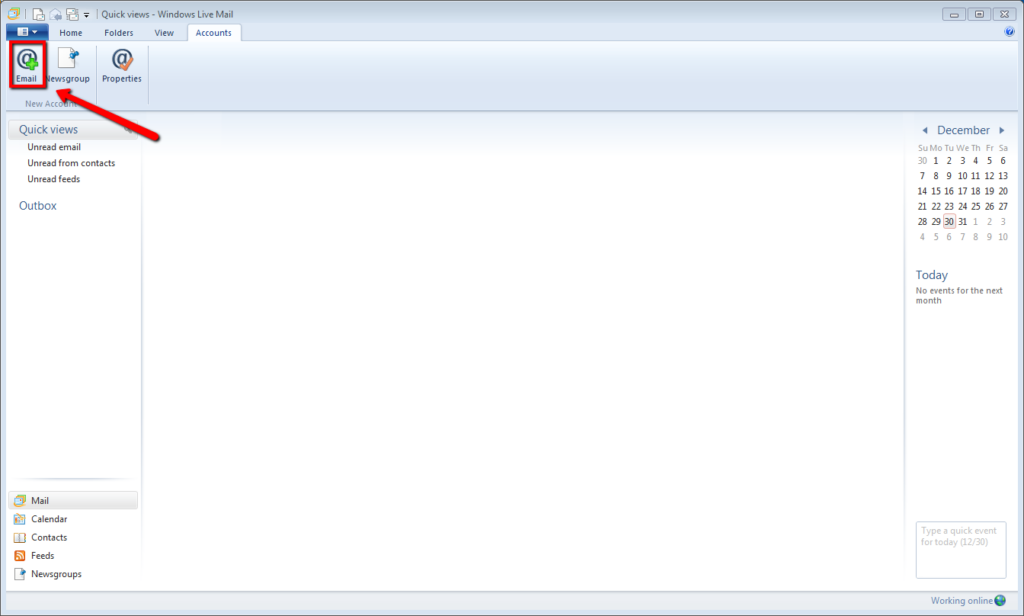
3. Click Email to bring up the accounts page
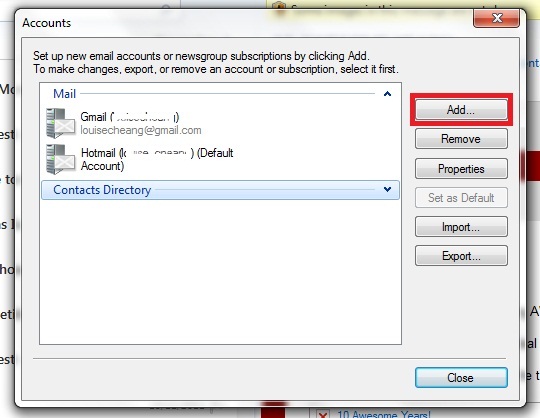
4a. (Optional) If you are adding a second account, click Add.
You will not need to do this step if this is the first account you are adding.
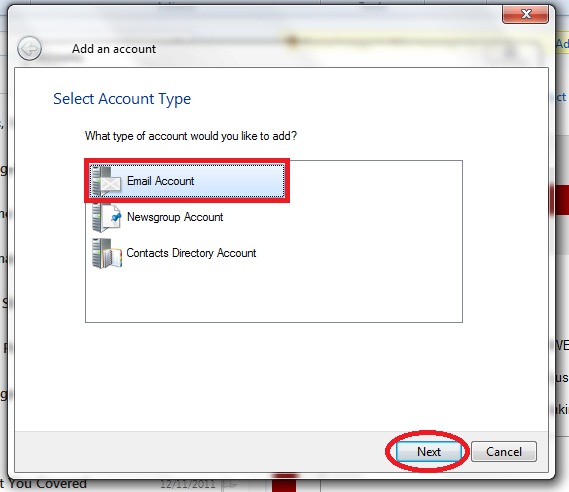
4b. (Optional) If it asks you what kind of account, select Email Account and click Next to continue.
5. Fill in the email address, password and Display Name.
Display name will be the name displayed along with your email accounts, for example “John Doe”. Make sure to select Manually configure server settings, then click Next

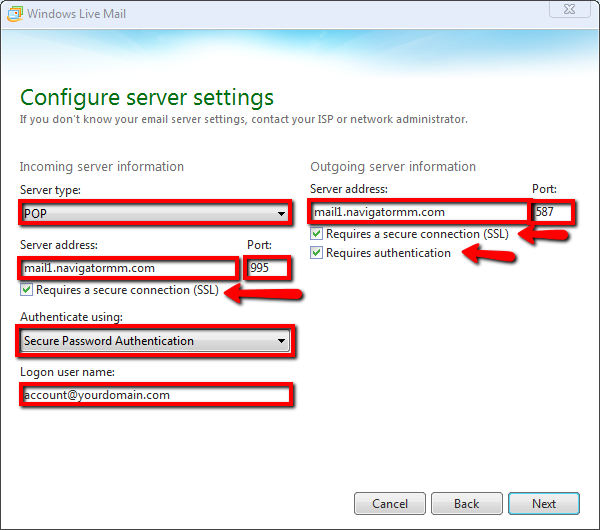
5. For this step, you will need to enter the information below as follows:
- Server type: Select either POP or IMAP
- Server address: mail1.navigatormm.com
- Port: 995
- Authenticate using: Secure Password Authentication
- Logon user name: Use your full email address, account@yourdomain.com
- Outgoing server address: mail1.navigatormm.com
- Port: 587
- Select Requires a secure connection (SSL)
- Select Requires authentication
Once you have everything entered accordingly, select Next to complete the set up.
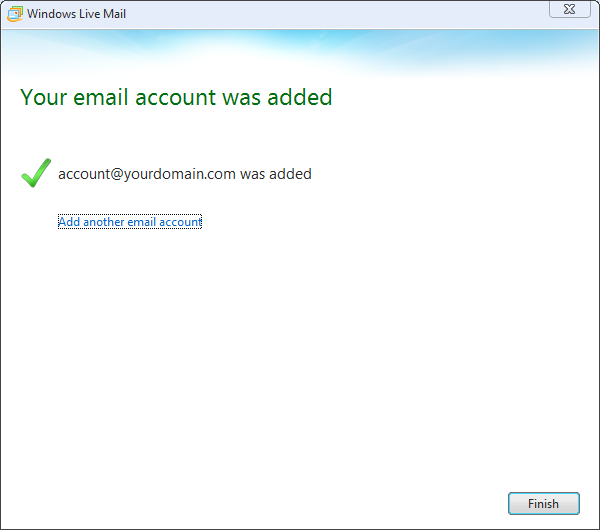
6. That’s it!
You should now see your mailbox in Windows Live Mail. If not, please contact our support so that we can help you troubleshoot the issue.